From staging to live website. Use this website QA checklist before you ship.
This free interactive website QA checklist helps web teams and agencies check functionality, design, content, accessibility, SEO, AEO, performance, and browser compatibility – with saved progress and a shareable completion summary.
Complete end-to-end testing of the website's key paths (e.g. ecomm sites: browse product → cart → checkout → confirmation).
Run a link checker tool (e.g. W3C Validator or ask your AI coding agent) and manually spot-check key paths.
Test forms end-to-end: fill in valid data, submit, and check that submissions reach the intended destination (CRM, email, database).
Test forms with invalid data (empty required fields, malformed email addresses etc). Error messages should be clear and specific.
Such as help/chat widgets, analytics, CRMs, booking systems etc.
Returns relevant results. Search for common terms, misspellings, and an empty query.
Pay attention to colors, logos, fonts, icons – they should match the intended design system.
Confirm heading hierarchy (H1→H6), font families, weights, sizes, and line-heights match the intended design system.
Spacing and alignment throughout the pages should feel consistent and polished. Check padding, margins, and gutters.
Ensure images/videos are not broken, stretched, cropped awkwardly, or blurry.
Check for hover, focus, active, disabled states. Ensure they match the intended design system and are clear to users.
Run a spell-check tool across all pages, or ask your AI agent to do it.
Search the codebase or CMS for 'lorem', 'ipsum', 'placeholder', 'TBD', 'TODO', and 'FIXME'.
One H1 per page, H2s for logical section breaks, and H3–H6 nested sensibly. Important for SEO/AEO and accessibility.
Such as Privacy Policy, Terms, Cookies, etc.
Review copy against the brand's tone of voice guidelines.
Informative images must have descriptive alt text that conveys their purpose. Skip decorative images with alt="".
Use a contrast checker (e.g. [WebAIM Contrast Checker](https://webaim.org/resources/contrastchecker/)) on all text/background combinations.
Buttons, inputs, etc. need distinct hover, focus, active, and disabled states. Never rely on color alone for things like error states, required fields, status indicators.
Tab through every page without using a mouse. You should be able to reach and activate every link, button, form etc.
Confirm `<html lang="en">` (or the appropriate language code) is present. Screen readers use this to select the correct voice.
Aim for a performance score of 90+. Pay close attention to LCP, CLS, and INP metrics.
500kb+ images are a red flag. Use free services such as [TinyPNG](https://tinypng.com) to compress image sizes.
Confirm `yourdomain.com/sitemap.xml` is accessible and lists all indexable pages. Excl. noindex pages, duplicates, admin URLs.
Fetch `yourdomain.com/robots.txt`, verify it exists and is not blocking key pages.
Structured data is a little 'cheat sheet' you add to your pages to tell search engines and AI tools exactly what each page is about – like 'this is an FAQ', 'this is a product', or 'this is a recipe'. Common ones to look for: `FAQPage`, `Article`, `Product`, `BreadcrumbList`, and `Organization`. Run your pages through [Google's Rich Results Test](https://search.google.com/test/rich-results) to confirm it's there and valid.
The title is the clickable headline in search engine results and a primary ranking signal. The description doesn't affect rankings directly but heavily drives click-through.
Confirm `<link rel="canonical" href="...">` points to the preferred URL for each page.
Open Graph tags control how your page looks when shared on social media (Facebook, LinkedIn, Slack, etc.).
Test the latest versions of all four major browsers. Use BrowserStack or a similar tool if you don't have access to all platforms.
Test at common breakpoints. Use DevTools responsive mode as a starting point, but also test on real devices where possible.
Tiny tap targets are a top mobile usability complaint. Minimum 44x44px.
Functional testing checks whether the website behaves the way users expect. Test forms, buttons, links, navigation menus, search, filters, redirects, downloads, login flows, error states, and confirmation messages. A page can look finished but still fail QA if a form does not submit, a CTA points to the wrong page, or a user journey breaks on mobile.
Design QA checks that the final website matches the approved visual direction across real pages and devices. Review spacing, typography, image quality, icon usage, layout consistency, responsive behaviour, hover states, and component alignment. This is where teams catch the small visual issues that make a site feel unfinished.
Content QA confirms that every page is ready for real users. Check for typos, placeholder text, outdated claims, broken formatting, missing legal copy, inconsistent tone, duplicate content, and incorrect contact details. For agency teams, this is also where final client-approved copy should be checked against what actually made it into the build.
Accessibility QA checks whether people can use the website with different devices, abilities, and assistive technologies. Test keyboard navigation, visible focus states, alt text, form labels, colour contrast, heading order, link text, and screen reader basics. Accessibility issues are easier to fix before launch than after a client or customer reports them.
AEO and performance checks make sure the website is both fast and easy for answer engines to interpret. Review structured data, FAQ formatting, crawlable page content, clean headings, Core Web Vitals, image compression, lazy loading, script weight, and mobile page speed. A page that loads slowly or hides key answers from crawlers is less likely to perform well in search or AI-generated results.
Cross-browser and device QA checks whether the website works across the environments real users rely on. Test priority pages in Chrome, Safari, Firefox, Edge, iOS, Android, tablet, laptop, and desktop views. Pay close attention to navigation, forms, sticky elements, pop-ups, responsive layouts, and interactions that behave differently across browsers.
Work through each category with your team/clients before launching your website.
Run through the checklist with your staging or pre-production environment open in a second tab.
Start with Functional Testing and work down. Each item has a description to guide what to look for.
Make your web developer's life easier by using a website QA tool like BugHerd to pin issues directly on the page.
When done, hit "Copy summary" to export a plain-text report of what passed and what remains.
Common questions about this checklist, website QA testing, and AEO.
A proper website QA pass checks more than whether the page "looks right." Before launch, your team needs to confirm that key user journeys work, content is final, layouts hold across devices, accessibility basics are covered, SEO and AEO signals are in place, performance is acceptable, and analytics scripts are firing correctly. This checklist is grouped into six launch-critical categories: Functional Testing, Design, Content, Accessibility, SEO, AEO & Performance, and Cross-browser & Device. Use it on staging before go-live, then copy your completion summary to share progress with your team or client.
AEO, or Answer Engine Optimisation, is the process of making website content easy for AI tools, voice assistants, and search engines to understand, extract, and cite. In a website QA checklist, AEO means checking that important content is crawlable, clearly structured, and written in a format that can stand alone as an answer. Before launch, teams should check that key pages use clear headings, descriptive alt text, structured data where appropriate, and FAQ-style answers for common questions. If important content is hidden behind JavaScript, buried in vague marketing copy, or missing from the HTML, AI tools are less likely to surface it as a source.
Website QA testing is the final quality check before a website goes live. It confirms that the site works correctly, looks right across devices, includes final approved content, meets accessibility basics, and can be crawled by search engines. A good QA pass catches issues like broken forms, missing metadata, layout bugs, placeholder copy, poor mobile behaviour, and tracking scripts that are not firing.
A thorough QA pass on a standard marketing website usually takes 4–8 hours for an experienced tester working through a structured checklist. Complex sites — such as e-commerce builds, membership platforms, multilingual sites, or projects with custom functionality — can take 1–3 days. Cross-browser and device testing is often the biggest time sink, so many teams run that part in parallel.
In most agency projects, QA should be shared across three roles: developers check technical correctness, designers check visual fidelity, and a project manager or dedicated tester runs the final sign-off pass. The final pass should be done by someone who did not build the page, because they are more likely to catch missed edge cases, confusing flows, and small inconsistencies.
QA testing checks whether the website works as intended before it reaches the client or end user. UAT, or user acceptance testing, checks whether the website meets the client's expectations and real-world requirements. In practice, QA should happen first so obvious bugs are fixed before stakeholders are asked to review and approve the site.
AEO checks whether your content can be easily understood, extracted, and cited by AI tools and answer engines. Before launch, check that important pages have clear headings, FAQ-style answers, descriptive alt text, schema markup where appropriate, and crawlable HTML content. If the page hides key information behind JavaScript or vague marketing copy, AI tools are less likely to use it as a source.
BugHerd helps teams capture, assign, and resolve website QA feedback directly on the page being tested. Instead of sending screenshots, spreadsheets, or vague notes in Slack, testers can pin feedback to specific elements, automatically capture technical details, and send issues into a shared task board. That makes it easier for developers, designers, project managers, and clients to stay aligned before launch.
More guides and tools to help you ship client websites with confidence.
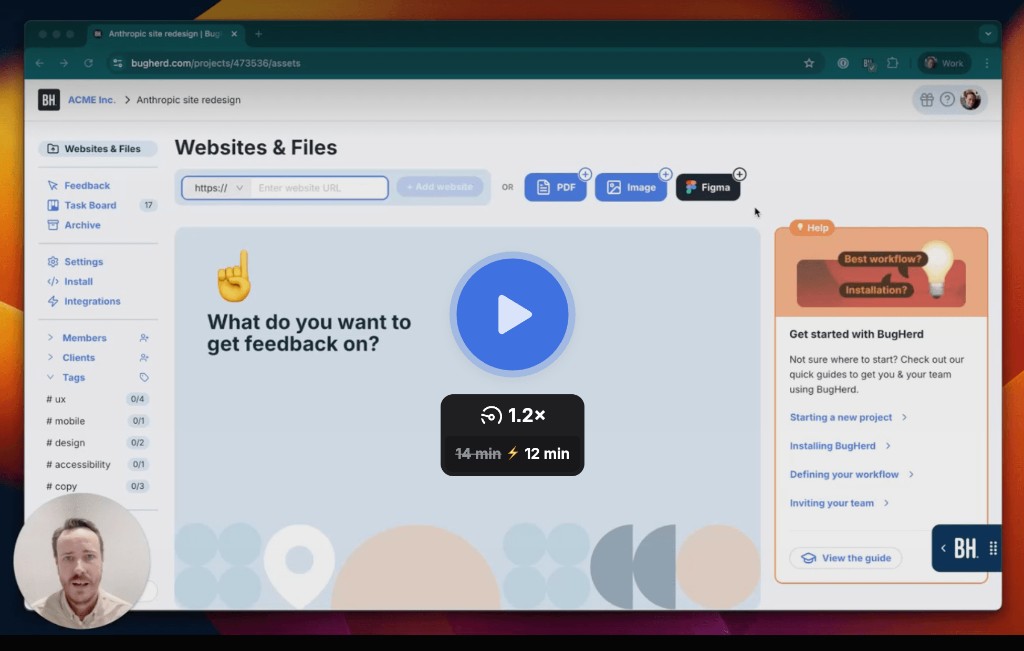
Watch a pre-recorded demo covering setup, collecting website feedback, managing revisions, and integrating BugHerd with your existing tools.

A round-up of the top website QA tools web dev agencies and teams use to catch bugs, streamline feedback, and ship cleaner sites faster.

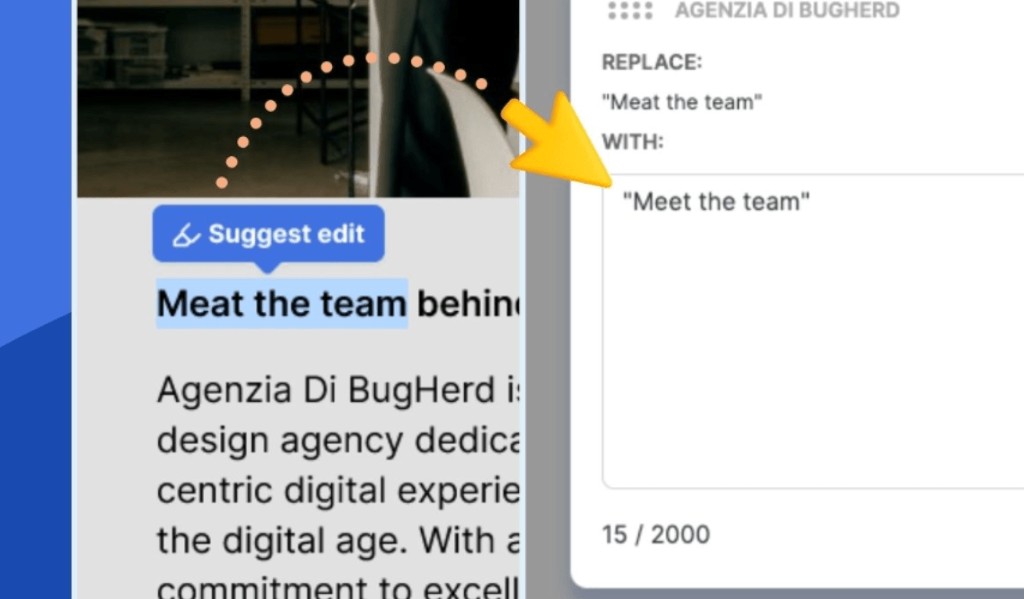
Everything you need to know about reporting and tracking website bugs in 2026 — from capturing issues to closing them out with your team.